How to add Mailgun delivery provider
Requirements
Before you start adding Mailgun, we assume that you already have a Mailgun account. In case you don't have it, please firstly create an account.
If you don't want to read this text, we suggest watching our video tutorial.
Create Domain
-
In the left menu, click on Sending - Domains.
-
Click on Add New Domain
-
Type your subdomain (e.g. marketing.example.net), select a region (US or EU), and then click on Add Domain.
-
Then you need to verify the domain. If you don’t know how to do it, you can ask your hosting provider. However, it’s very simple so you can do it by yourself. You just need to add two TXT records, two MX records, and one CNAME record, from your Mailgun account to your DNS.
-
After adding DNS records, go to the Mailgun account, click on Verify DNS Settings. In Domain settings, you can see that your domain is selected.
-
Scroll down to Tracking, and enable open and click tracking. You don't need to enable unsubscribe tracking because Jellyreach will track this for you.
Get API Key
- Go to Settings - API keys, and copy the private key.
Add Provider in Jellyreach
In the menu, click on Channels and make sure tab Emails is selected.
Then, you need to select Amazon SES provider just like you can see in the photo below.
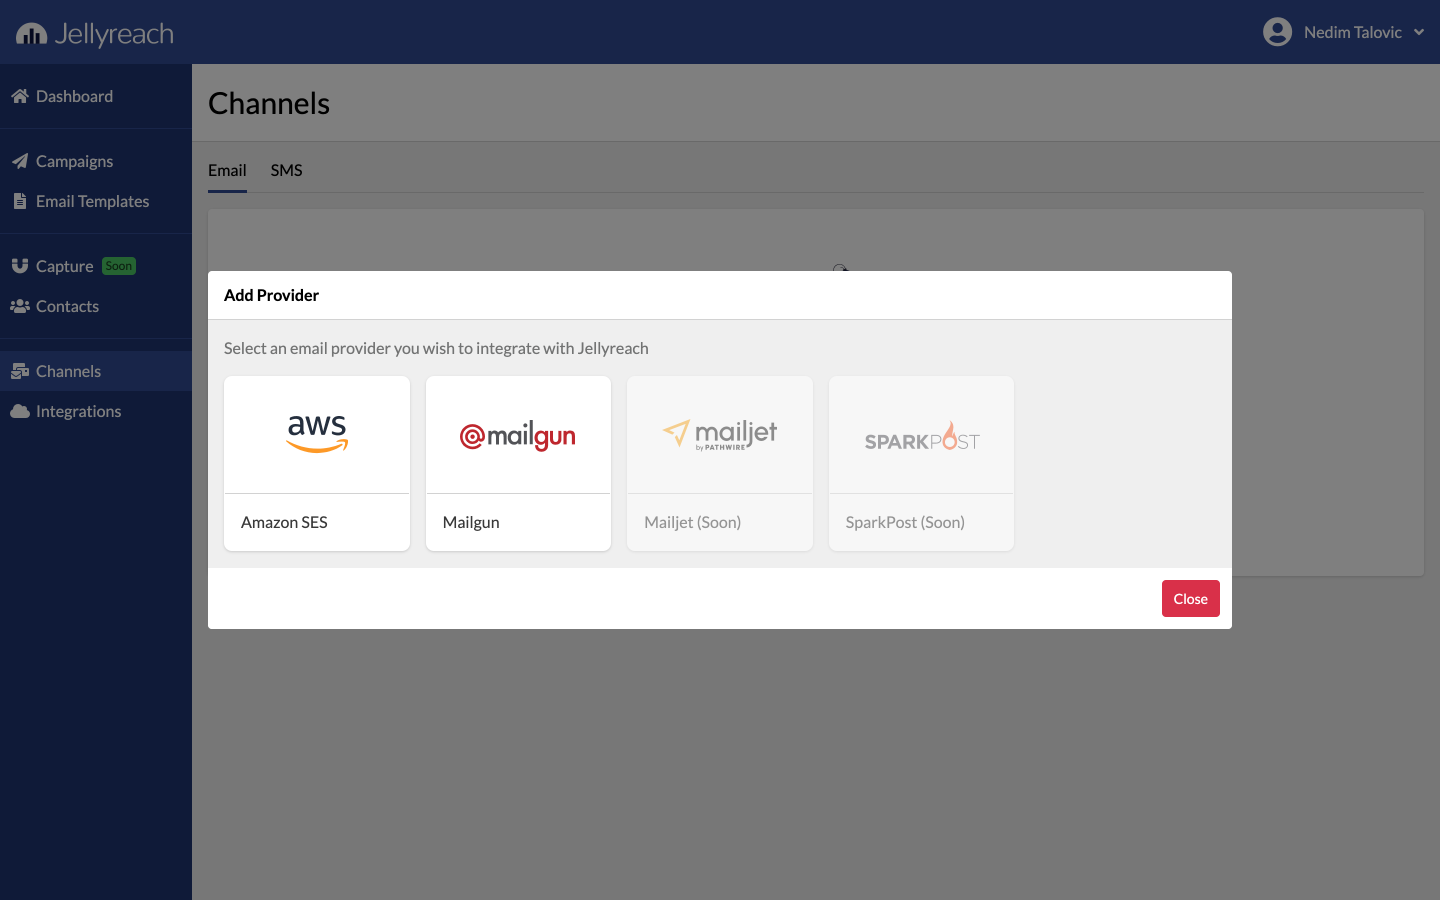
After selecting Mailgun, enter your credentials you previously generated.

That's it. In case you have any questions, please feel free to reach us on [email protected]
Happy sending campaigns!